Change call sign
Change call sign.
To change your call sign on your allstarlink.org account.
The first step is to login to your allstarlink account. Go to https://allstarlink.org/ and click the <Login/Sign Up> link.

Click on <Login/Sign Up> as shown in the image above.
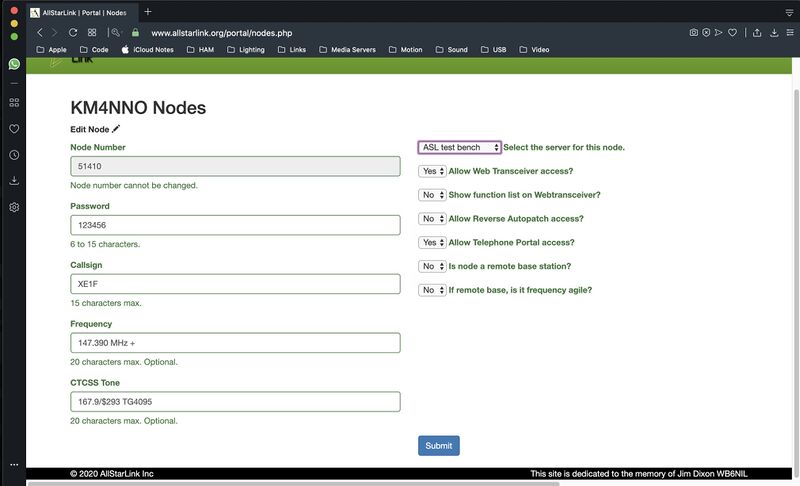
After login in, click on <Portal> and then click on <Node Settings>

Next, click on the node number you want to change call sign.
Change the password and click <Submit>.
To change your call sign on your node.
Log to your node with a keyboard and a monitor or using SSH.
Type sudo asl-menu as the example below shows.
repeater@repeater:~$ sudo asl-menu
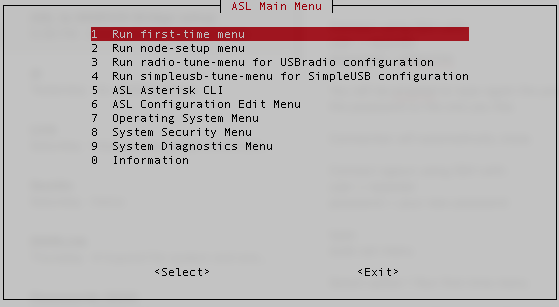
This will load the AllStarLink configuration menu. Choose option <2>.
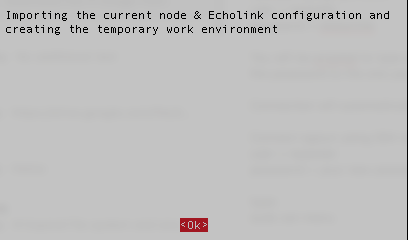
Say <Ok> to this message.
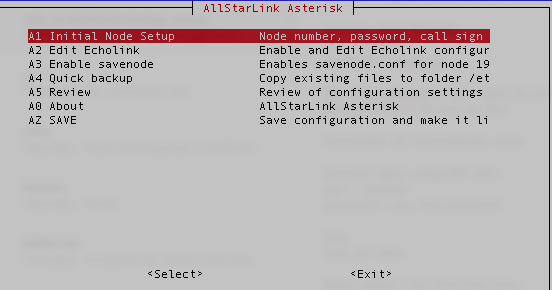
Choose option <A1>.
To change your node number choose option <N1>.
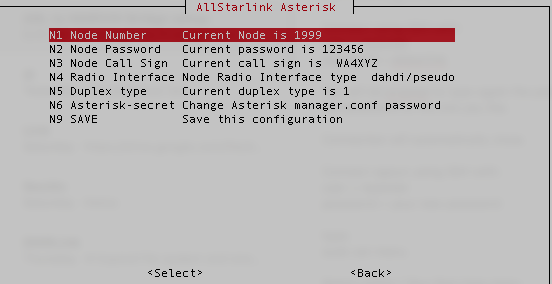
Set your node number.

To change your node password choose option <N2>.
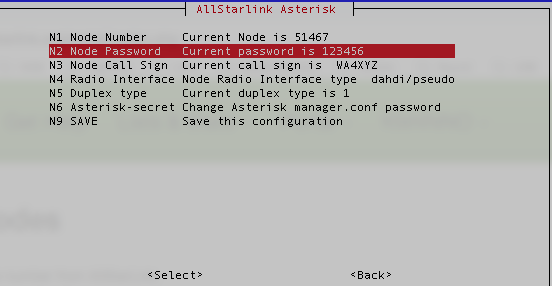
Set your node password.

Choose option <N3>.
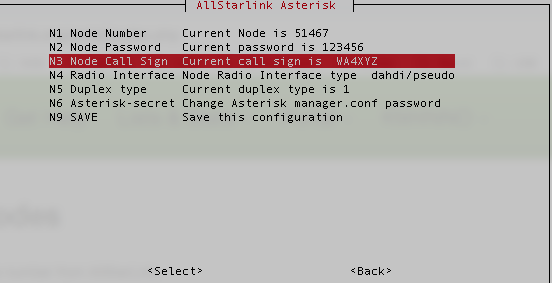
Type the call sign for your node. Yes the one you previously wrote down from AllStarLink site.

Choose option <N9>.
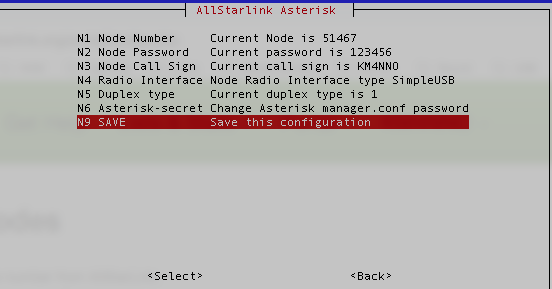
Just say <Ok> to this message.
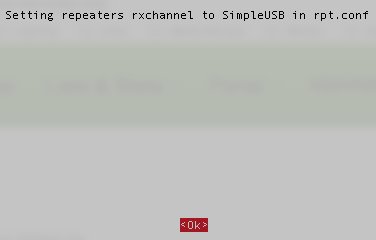
Just say <Ok> to this message.
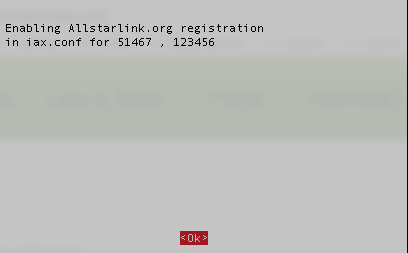
Just say <Ok> to this message.
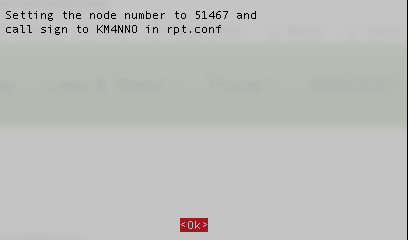
Just say <Ok> to this message.
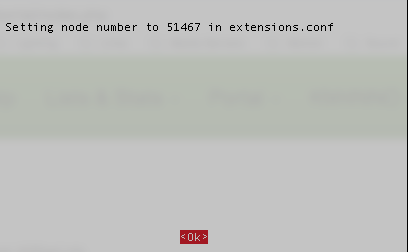
Just say <Ok> to this message.
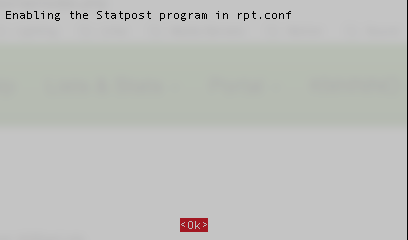
Just say <Ok> to this message.
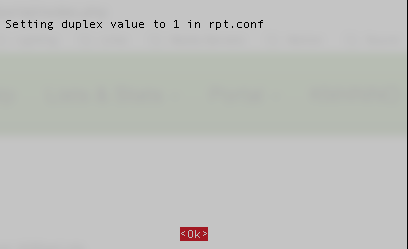
Just say <Ok> to this message.
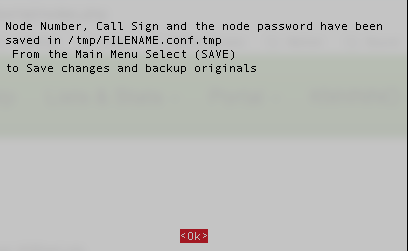
Choose option <Back>.
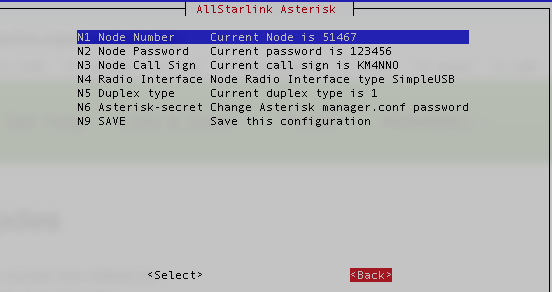
Choose option <AZ>.
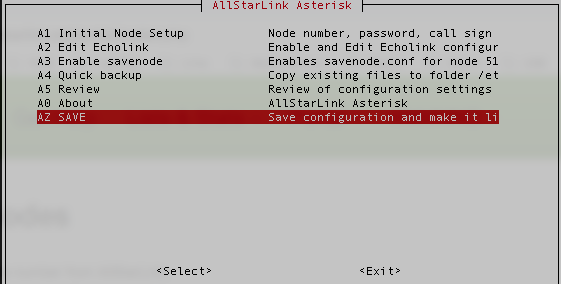
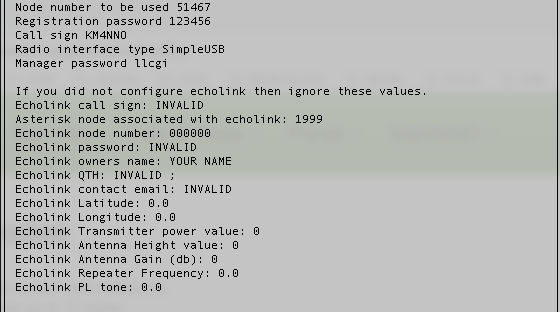
Review what you wrote down with what you have configured on your systemand press <Enter>.
Choose <Yes> to backup your configuration.

Just say <Ok> to this message.
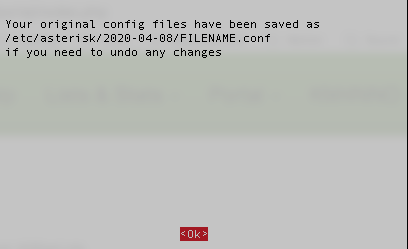
Just say <Ok> to this message.
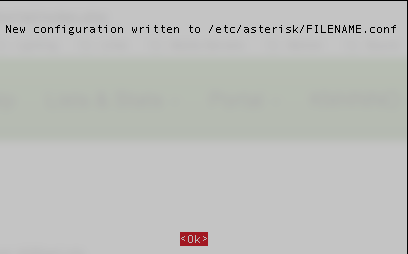
Just say <Ok> to this message.
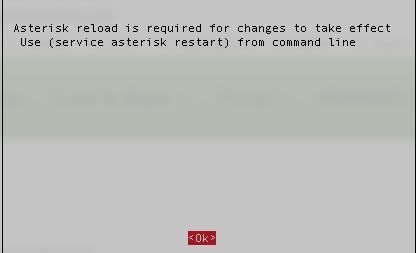
Choose option <Exit>.
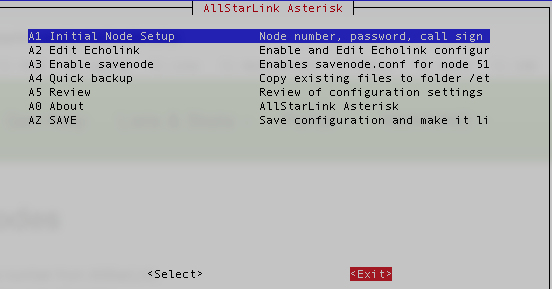
Answer <Yes>, because we already saved our configuration.

Choose Option <9>.
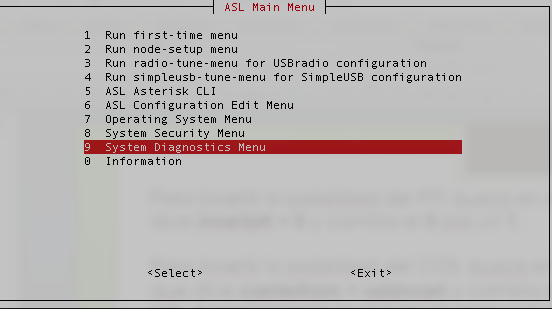
Choose option <G> to restar AllStarLink software and apply changes. Choose <Back>, repeat your audio test if needed.
